
Adding an icon to the poster blocks' content area (7.0 & 7.1CE)

A few weeks ago, I got a question regarding customizing an image block in a way that a little logo or icon could be displayed alongside the title + subtitle + button content area, and so that’s precisely what we’ll be tackling today!
This CSS trick is a really fun one AND it’s really easy to achieve!
So, why don’t we get started?
Finding the right container
We’ll be starting out with some regular poster blocks that already have all the content we want in place:

And the first thing we need to do is to inspect our poster blocks to find the perfect container where we can “attach” our icon:

As you can see above, I’m standing over the container that’s holding the whole text of the block, so I think that’s a good one to work with.
Zooming in…

…we can see it has a class of .image-card and another of .sqs-dynamic-text-container
I think the first one will do, but not on its own, since it doesn’t really give us any information about the type of block we’re targeting.
However, if we move up slightly, we can see that a parent/ancestor container of our .image-card contains a bunch of classes including one called .design-layout-poster which is much more specific:

So, we’ll use both to create our selector:
.design-layout-poster .image-card {

}
Then, to add in our image, we’ll make use of our friend the pseudo-element and create one that attaches to the container we’re selecting.
I want mine to be sitting atop of the content, so I’ll go with a ::before
.design-layout-poster .image-card::before {

}

Perfect!
Creating the image container
Next, we’ll set up some basic pseudo-element styles to create an empty container that’ll hold our little icon.
I’ll make mine 50px by 50px:
.design-layout-poster .image-card {
  content: '';
  display: block;
  height: 50px;
  width: 50px;
}

See how the content shifted slightly downwards to make room for the 50px?
Awesome! We’re on the right track.
Adding the icon
Last but not least, let’s bring up our image, shall we?
Note: in case you’re curious, I’ll be using these lovely icons from IconFinder, Camera and Videocamera.
We’re going to be doing this by adding a background image to our 50x50 container.
Additionally, we’ll make sure the icon isn’t repeated, it’s centered within those boundaries, and that the image doesn’t get cropped:
.design-layout-poster .image-card::before {
  background-image: url('https://static1.squarespace.com/static/5f29552c6bf057426af9cd91/t/5f75dece15e1c70b35fcb58c/1601560270755/Camera+white.png');
  background-position: center;
  background-repeat: no-repeat;
  background-size: contain;
  content: '';
  display: block;
  height: 50px;
  width: 50px;
}
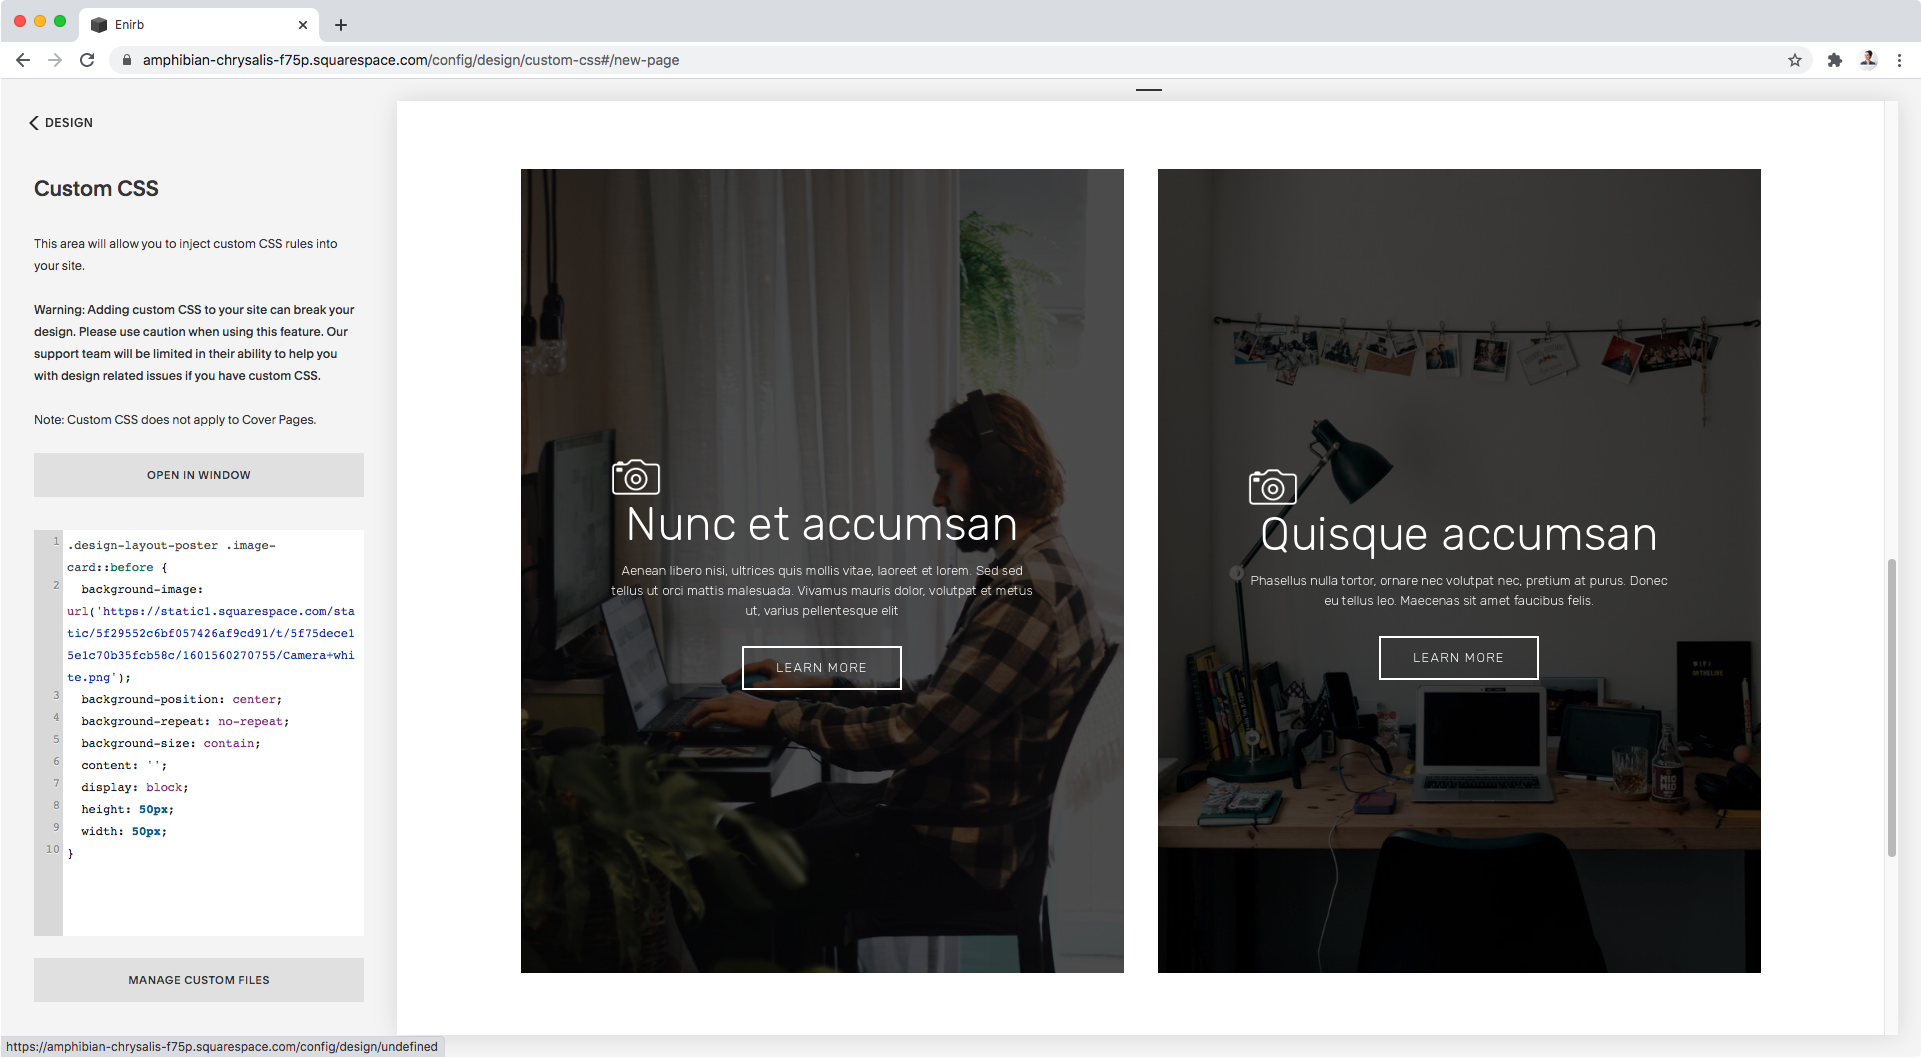
Sweet!
Our icon is showing up.
Now, let’s align it properly by adding some margins all around, auto for the sides and a fixed number for top and bottom:
.design-layout-poster .image-card::before {
  background-image: url('https://static1.squarespace.com/static/5f29552c6bf057426af9cd91/t/5f75dece15e1c70b35fcb58c/1601560270755/Camera+white.png');
  background-position: center;
  background-repeat: no-repeat;
  background-size: contain;
  content: '';
  display: block;
  height: 50px;
  margin: 0 auto 10px auto;
  width: 50px;
}

How about that?!
Beautiful!
"What if I want to have a different image for each block?"
If you want to be able to use a unique image for every poster block, OR if you want to style just a couple throughout your site, you can totally do that by plopping your block’s ID at the beginning of the code!
Here’s what that looks like for this example:
#block-yui_3_17_2_1_1601559410938_5881 .design-layout-poster .image-card::before {
  background-image: url('https://static1.squarespace.com/static/5f29552c6bf057426af9cd91/t/5f75dece15e1c70b35fcb58c/1601560270755/Camera+white.png');
  background-position: center;
  background-repeat: no-repeat;
  background-size: contain;
  content: '';
  display: block;
  height: 50px;
  margin: 0 auto 10px auto;
  width: 50px;
}

#block-yui_3_17_2_1_1601559410938_7054 .design-layout-poster .image-card::before {
  background-image: url('https://static1.squarespace.com/static/5f29552c6bf057426af9cd91/t/5f75ded30cb6f82db93344bf/1601560275049/Video+white.png');
  background-position: center;
  background-repeat: no-repeat;
  background-size: contain;
  content: '';
  display: block;
  height: 50px;
  margin: 0 auto 10px auto;
  width: 50px;
}

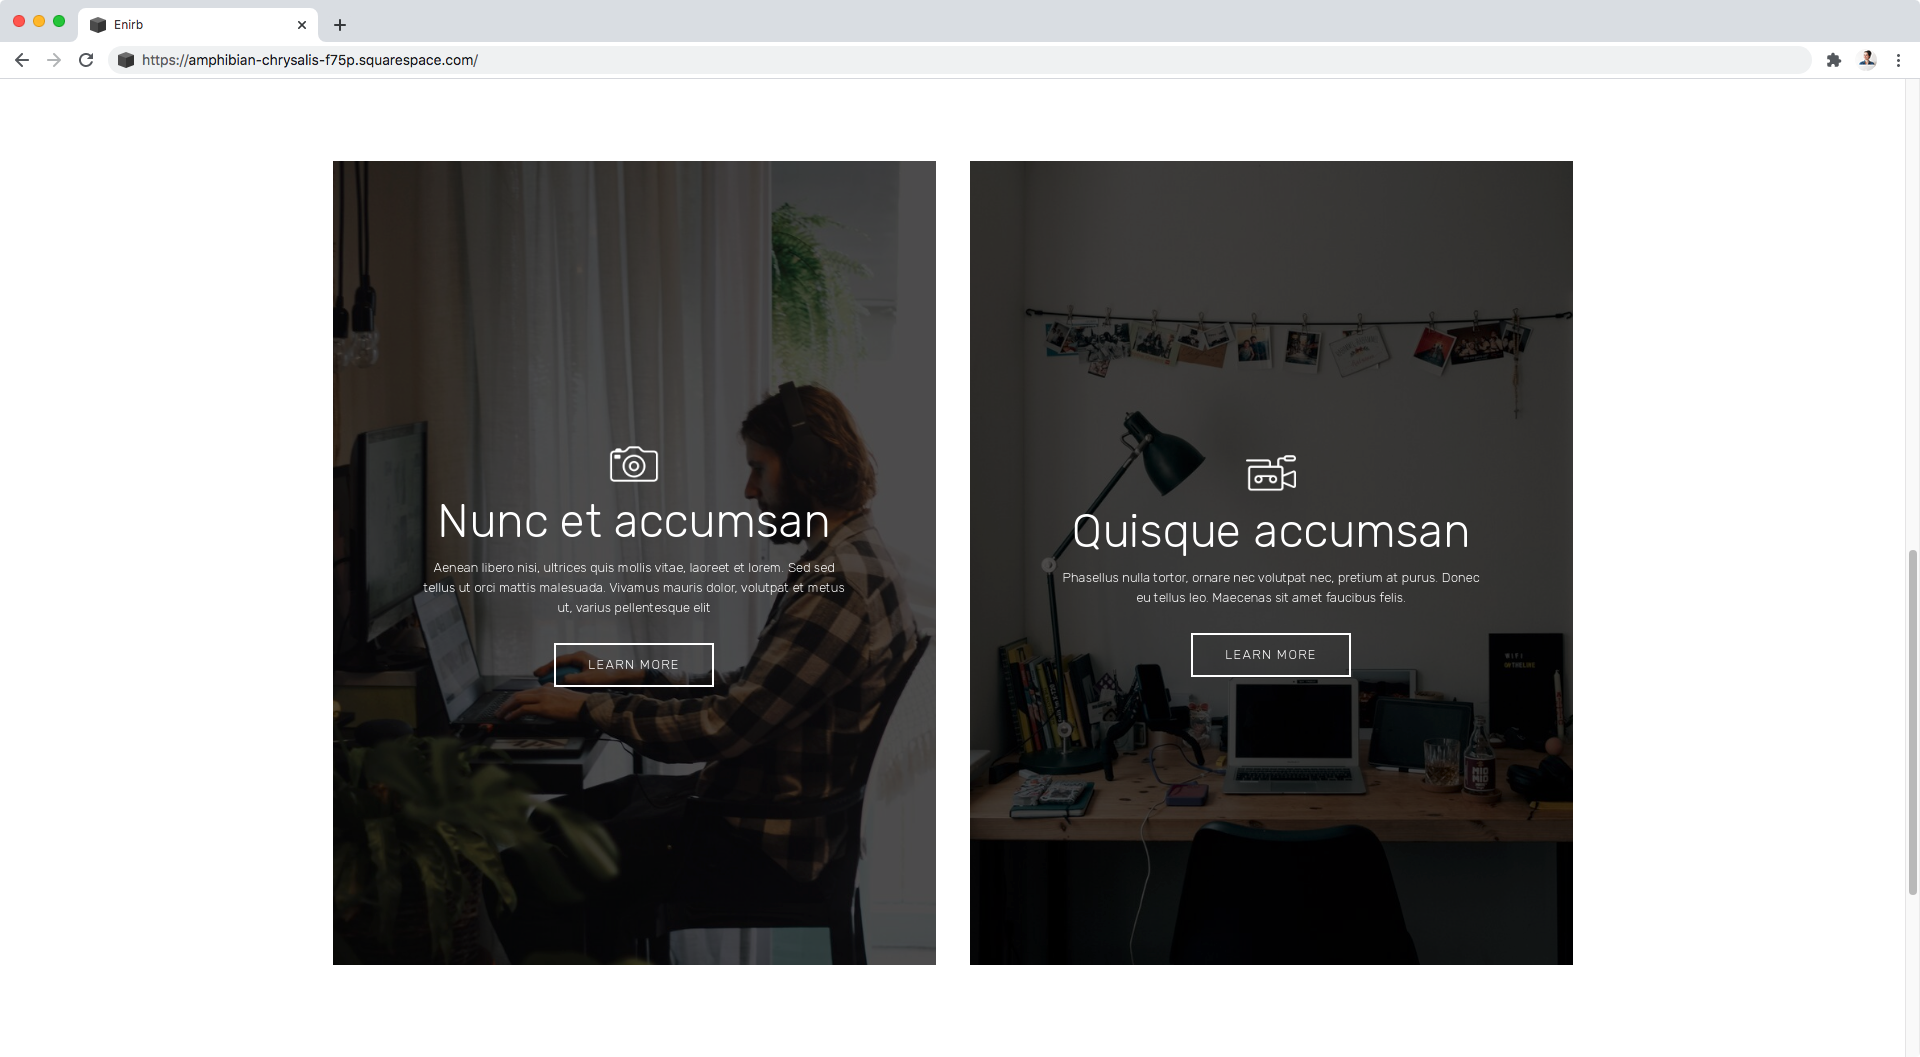
Ta-dá!
That looks SOO good, doesn’t it?
I absolutely love this CSS trick and I hope you enjoyed it!
Until next time,
B.
Full code
/*ADDING AN ICON TO THE POSTER BLOCK'S CONTENT AREA (7.0 & 7.1CE)*/
.design-layout-poster .image-card::before {
  background-image: url('https://static1.squarespace.com/static/5ee2544fa19d9d1adc9a2bf0/t/5f6259614f1ce3760cf416ac/1600280929147/M+logo+white.png');
  background-position: center;
  background-repeat: no-repeat;
  background-size: contain;
  content: '';
  display: block;
  height: 50px;
  margin: 0 auto 10px auto;
  width: 50px;
}