
How to create a simple timeline in Squarespace (7.0, 7.1 CE & 7.1 FE)
In this week’s post, we’ll be doing a deep dive into how to build a timeline block for your client’s project!
We’ve covered this topic before, inside the Club, but now we’ll break down the simplest way to make it happen and the logic behind it, right here on the blog.
So, if you’re wanting to add this feature to your design to showcase the steps of a process, an actual historic timeline, or anything else you want to present in this fashion, let’s get to it!
Tutorial
Overview & timestamps
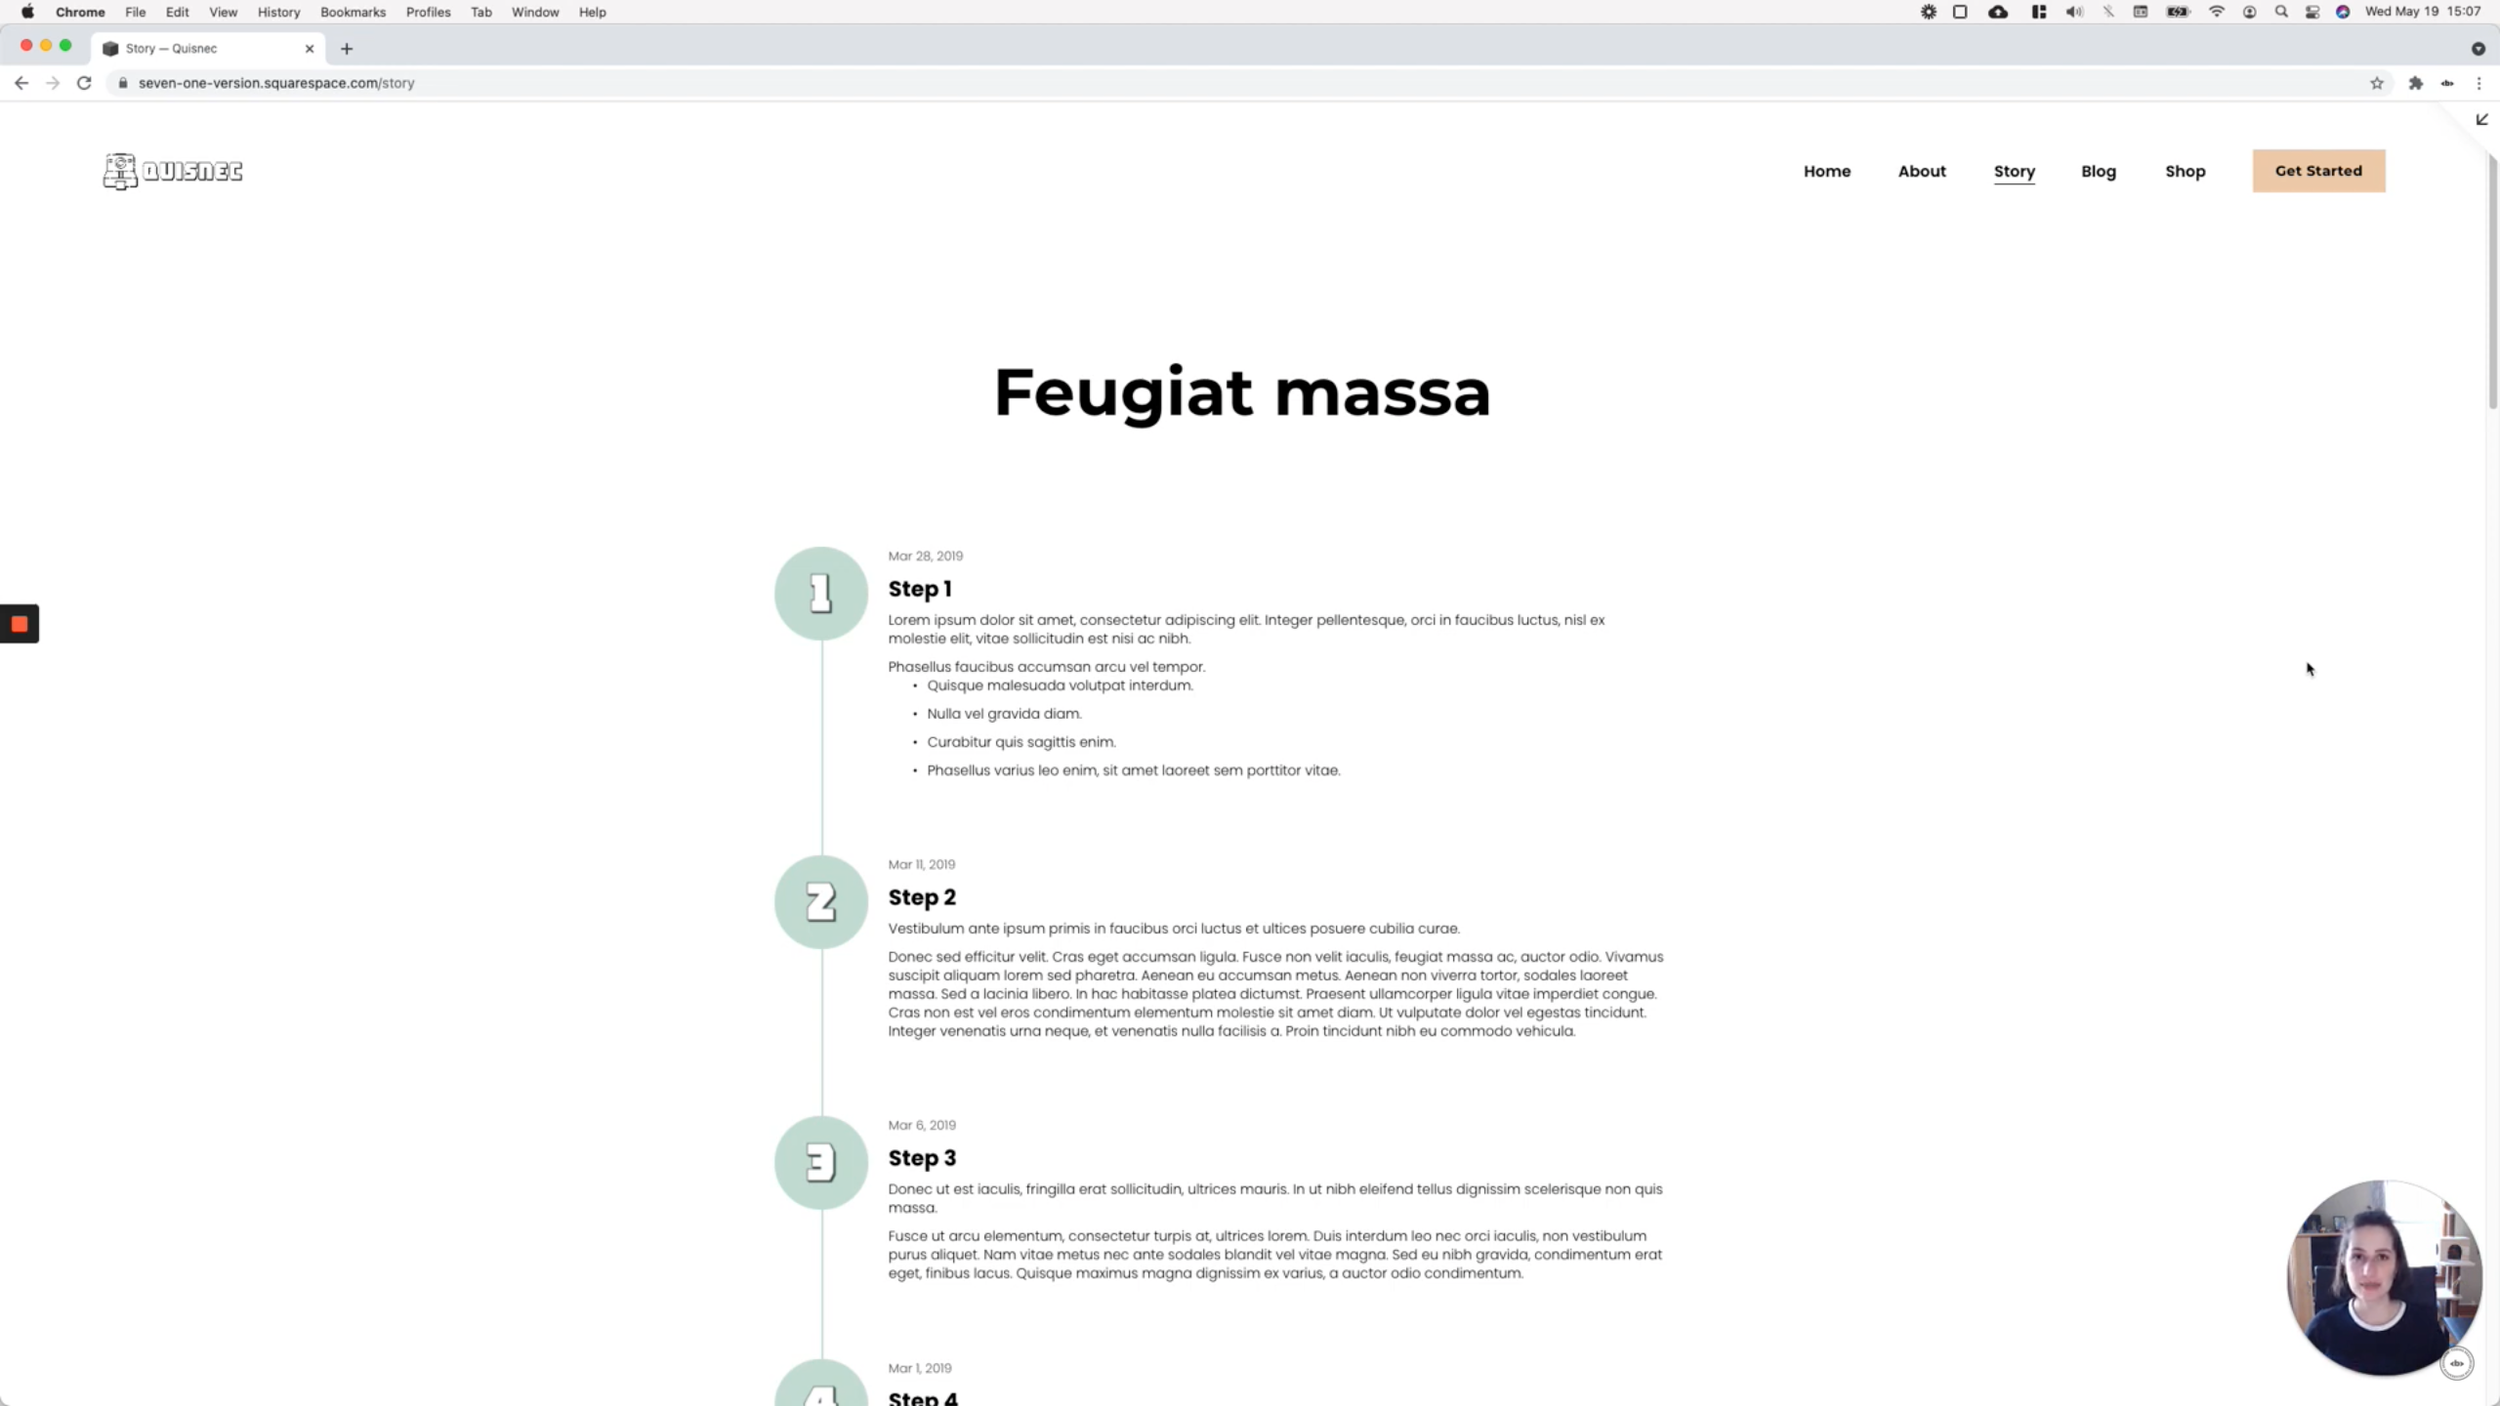
The timeline can be built on either Squarespace 7.0 or 7.1, and all you need to set it up is a Summary Block List and a blog page.
We’re using this type of block to make sure that the content updates are suuuuper easy to make for both yourself and your clients.
(1:46) – The first step is to create the line
To keep things simple, we’ll be adding a border to the content side of each item. The reason why I suggest going with a CSS border vs adding a line as part of the image thumbnail is that the border will stretch out to match the height of the content. And, therefore, we won’t have any weird line breaks in our timeline!(4:50) Next, we’ll have to set the line in place
By knowing the width of our thumbnail, we’ll be able to calculate the negative margin that’ll be needed to shift the entire content container to the left, so that the line sits right in the middle of the image. This is a good time to add some padding to the text as well, to separate it from the border.(7:11) It’s time to check out what’s wrong
We know that our calculations are correct for the negative margin, but the line is still not aligned to the thumbnail. By taking a look through the Inspector tool, we can see that there’s a padding that’s messing things up for us. So, we’ll have to get rid of it.(10:24) Fixing the gap between items
With our line in place, we can move onto making this look like a real timeline by connecting the lines to the following dots. To do so, we’ll have to get rid of both padding and margin.
(13:56) Taking a few minutes to style the title
Before moving on to the layout on smaller screens, we’ll target the titles inside the timeline and make them a bit more prominent than the rest of the text.
(15:15) It’s time for mobile!
Looking at the timeline we’ve created, we can see that there’s something odd happening on mobile. The sizing seems off.
Using the Inspect Element tool, we realize that the original values are being overridden by new ones that have been set as !important. We also take note of the media queries being applied, and we create our own.
Note: if you like to nerd out about how to decide when to use what code to set new values, I HIGHLY suggest checking out the timestamps for steps 3, 4 and 6. In the video, we’ll tackle the reason why we’re reusing the code that Squarespace used to set the original values.
Additional customizations
Now, if you’re looking to customize your timeline even further, you’re going to want to check out the Custom Timeline mini-course!
In it, you’ll learn how to use the super flexible code included to achieve an alternated layout, add dropdowns in a pinch, and make even more tweaks to create a sleek-looking block in just a few minutes.


If you’re interested in applying these customizations, get your hands on the mini-course and start building!
Until next time,
B.
Full code
/*CREATING A SIMPLE TIMELINE (7.0 & 7.1)*/
//To style the line and spacing
.sqs-gallery-design-list .summary-content {
  border-left: 2px solid #c0dad0;
  margin-left: -5%;
  padding-bottom: 7%;
  padding-left: 7%;
}
.sqs-gallery-design-list .sqs-gallery-image-container {
  padding-right: 0;
}

//To remove the gap between items
.sqs-block-summary-v2 .summary-block-setting-design-list .summary-item {
  margin-bottom: 0 !important;
  padding-bottom: 0 !important;
}

//To style the title text
.sqs-gallery-design-list .summary-title-link {
  font-weight: bold;
}

//Mobile
@media screen and (max-width: 640px) {
  .sqs-block-summary-v2 .summary-block-setting-design-list .summary-item.summary-item-record-type-video .summary-thumbnail-container, .sqs-block-summary-v2 .summary-block-setting-design-list .summary-thumbnail-outer-container {
    width: 10% !important;
  }
  .sqs-gallery-design-list .sqs-gallery-design-list-slide:not(.no-image) .sqs-gallery-meta-container {
    width: 90% !important;
  }
}