
Turning the Gallery Block title into a colorful label (7.0, 7.1 CE & 7.1 FE)
If you’re using a Gallery Block as category thumbnails for your blog, to redirect to your different service packages, or anything else that works best with an identifying label, you’re gonna love today’s customization!
We’ll be turning the Gallery Block slide titles into colorful labels! And even give EACH a different color!
I don’t know about you but I’m ready to get started so let’s jump in…
Customizing Gallery Block titles
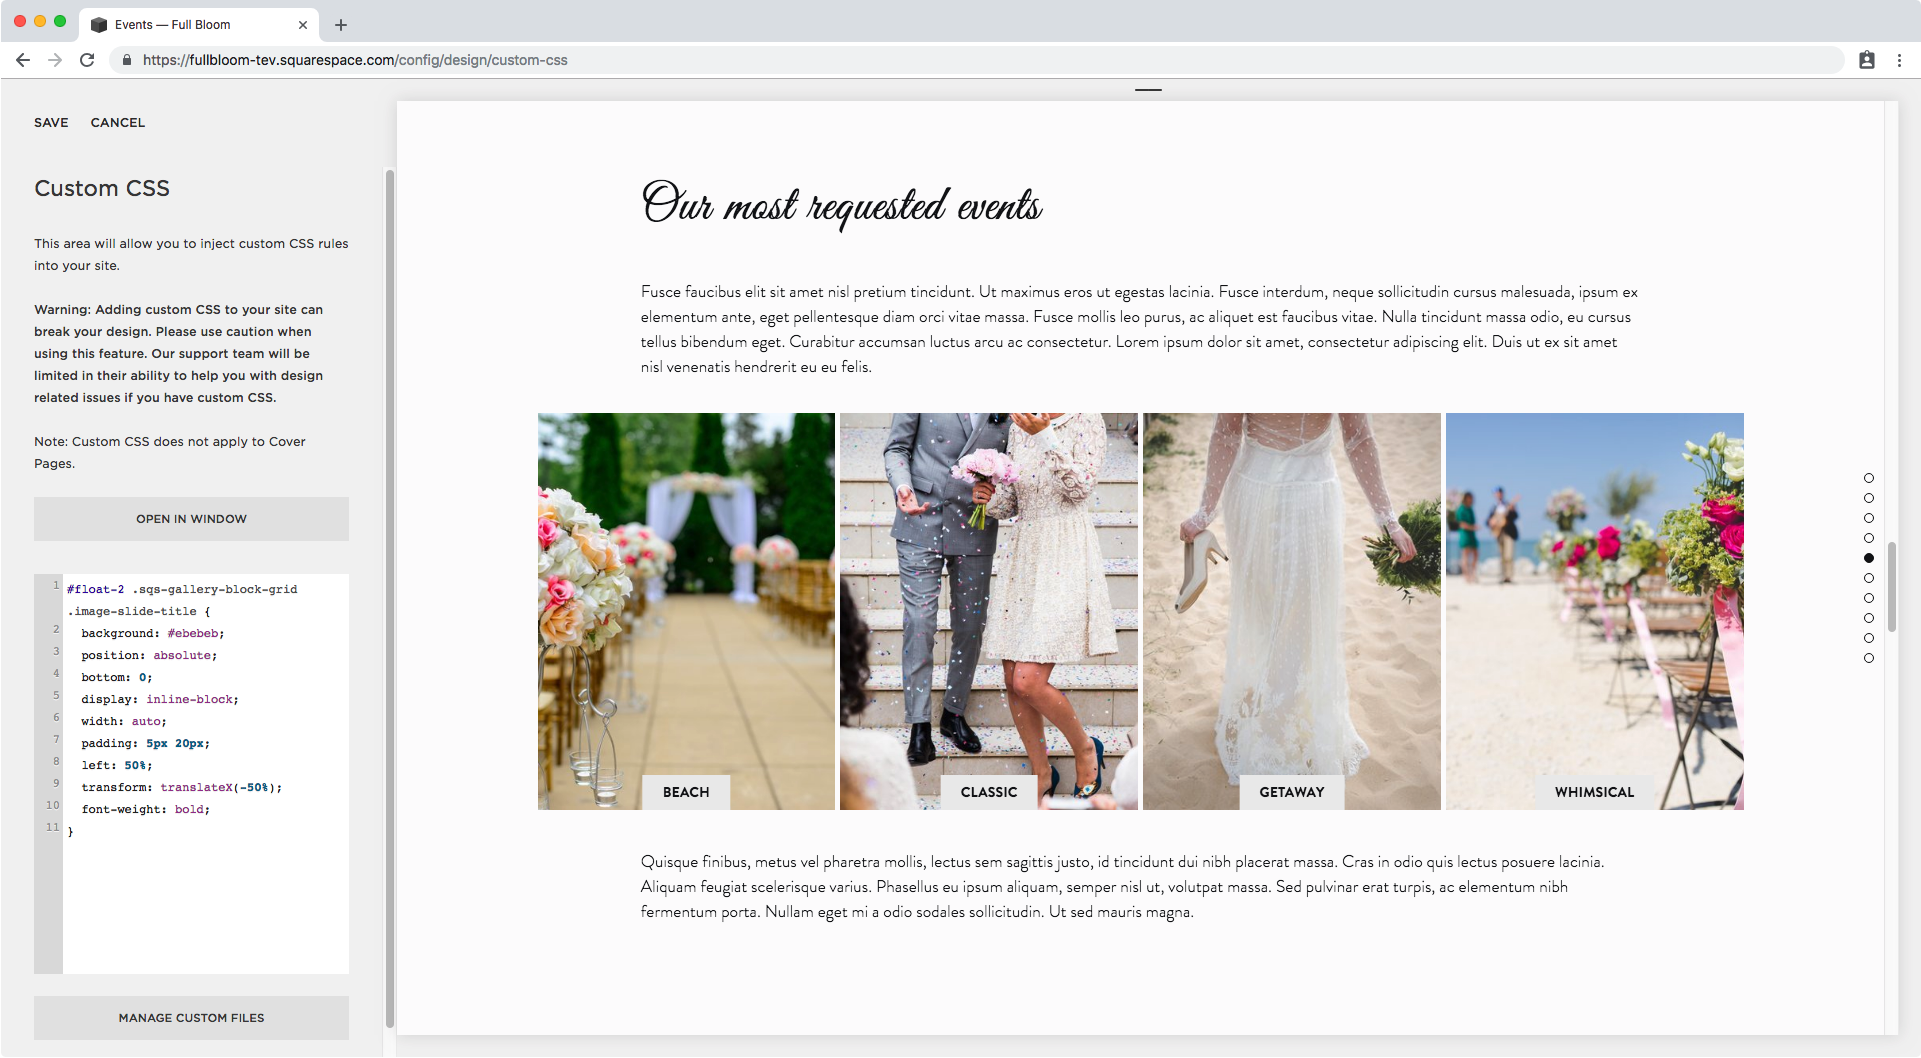
I’ll be starting out with a Grid Gallery Block that has 4 images with their corresponding title.
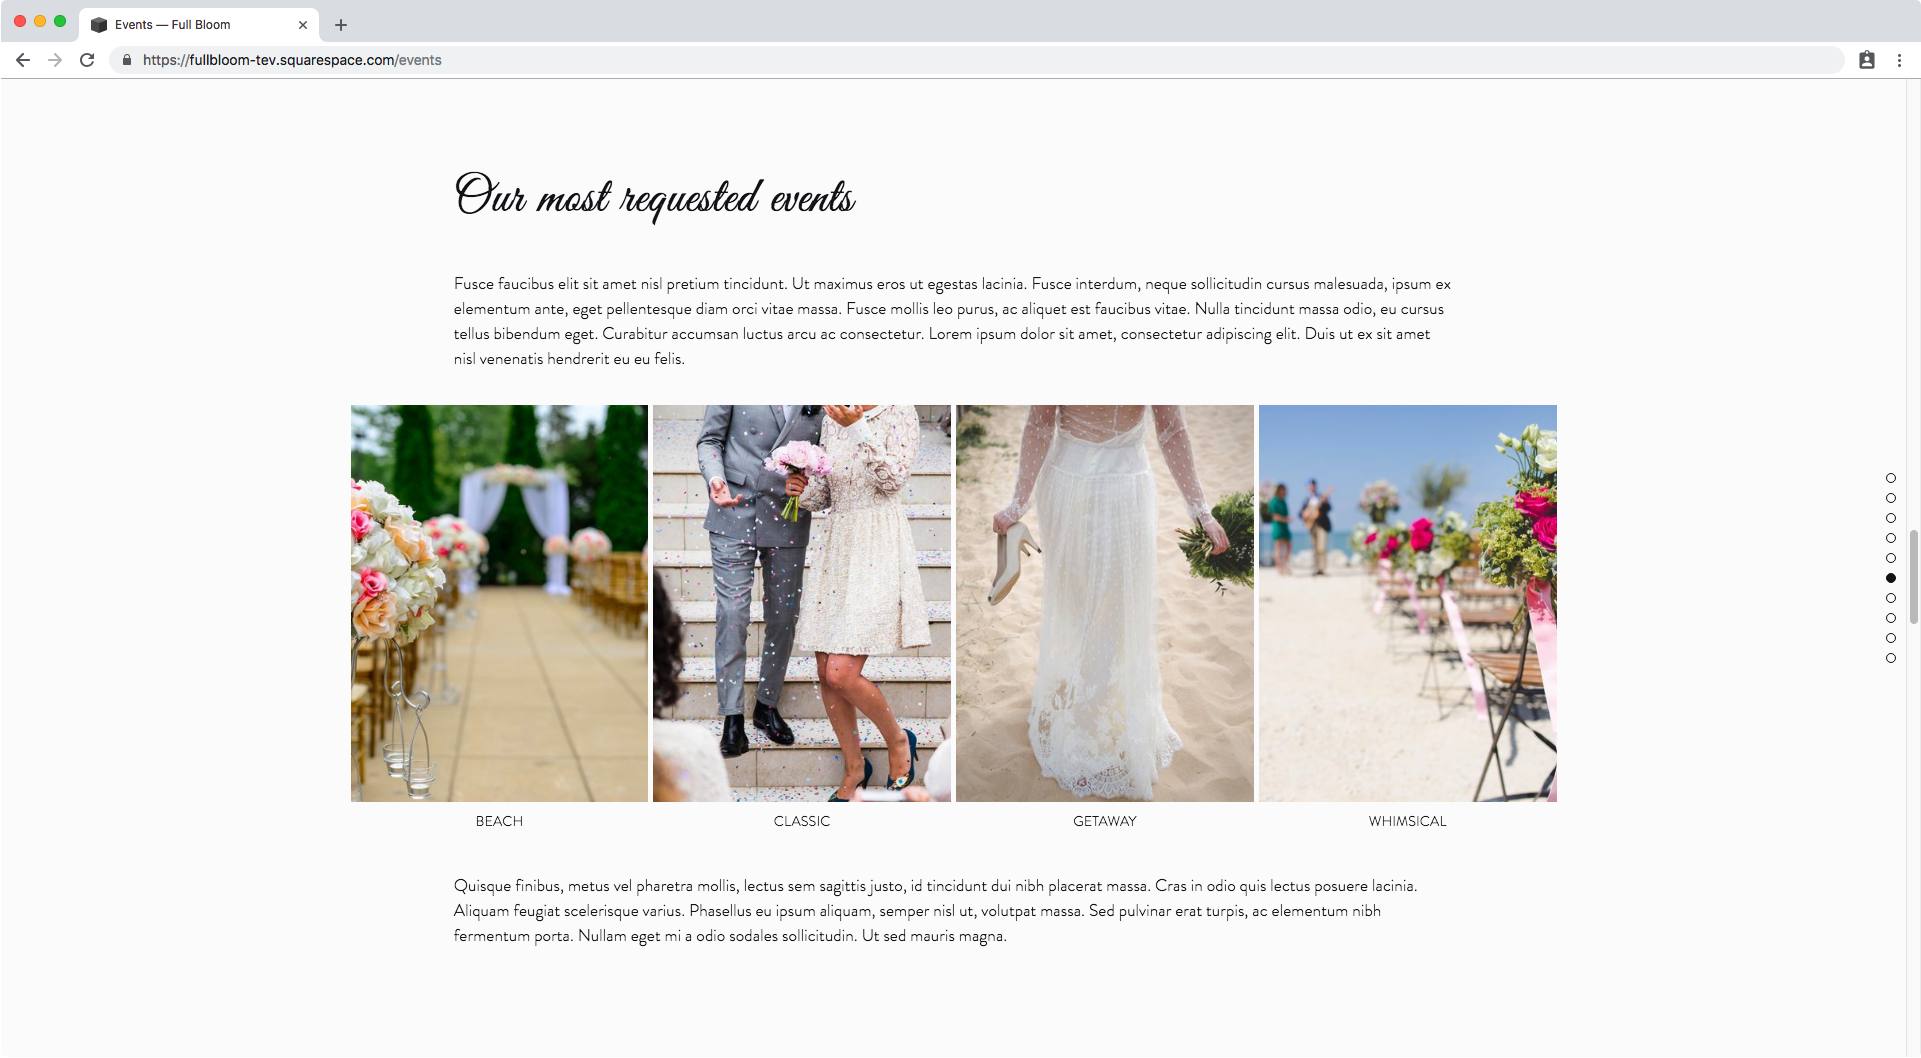
The first thing we need to do is to find out what the title container is called so we can add a background to it and move it.

It has a class of .image-slide-title so we’ll use that.
Now, let’s look for the class of a parent container that indicates we’re talking about a grid type block here, to make sure no other type of Gallery Block gets this customization.
Scrolling up a bit we find the classes for the container holding all our slides.

One of the classes says .sqs-gallery-block-grid so I’m going to use that one.
Lastly, I also want the change to happen ONLY on the index section where I have my block (I’m using Brine) so I’ll grab it’s URL slug to target it; mine is called #float-2.
With these three names identified, I can build my selector:
#float-2 .sqs-gallery-block-grid .image-slide-title {

}

Alright!
Let’s begin by giving it a background color so we can see it better.
#float-2 .sqs-gallery-block-grid .image-slide-title {
  background: #ebebeb;
}
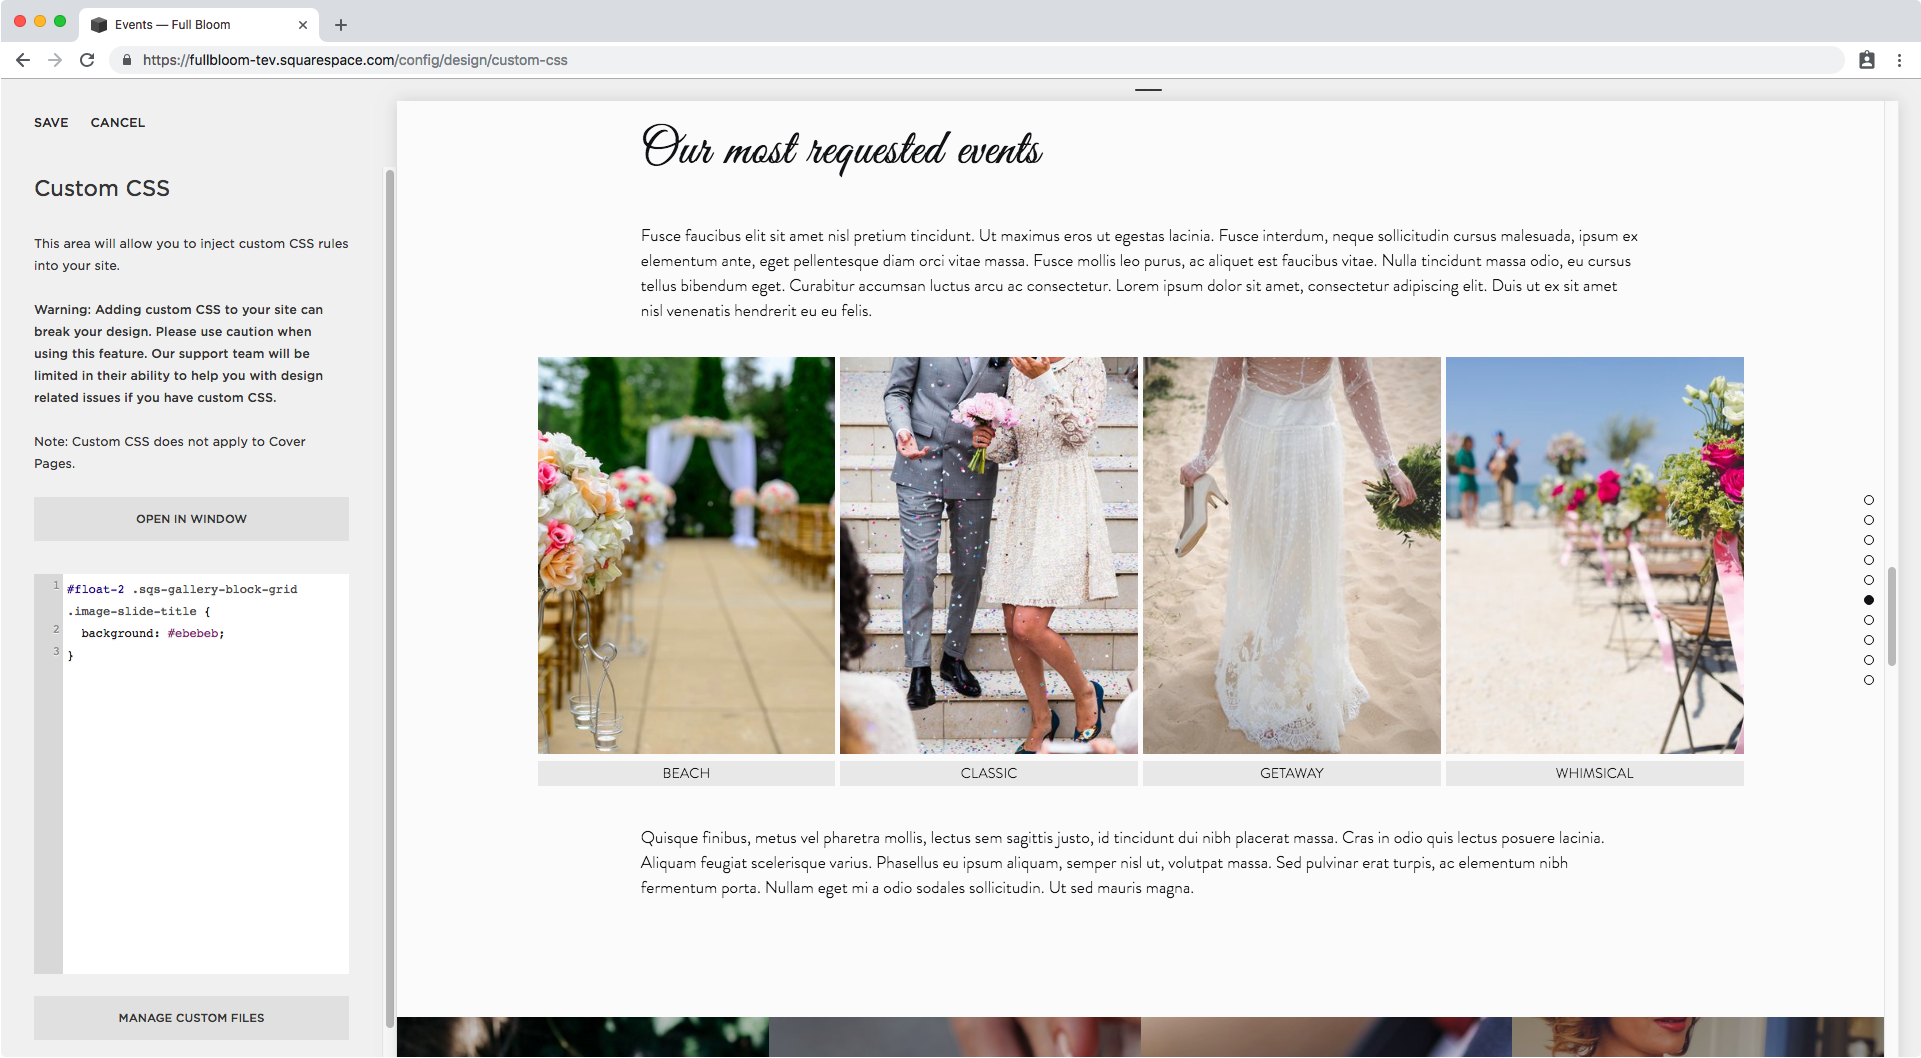
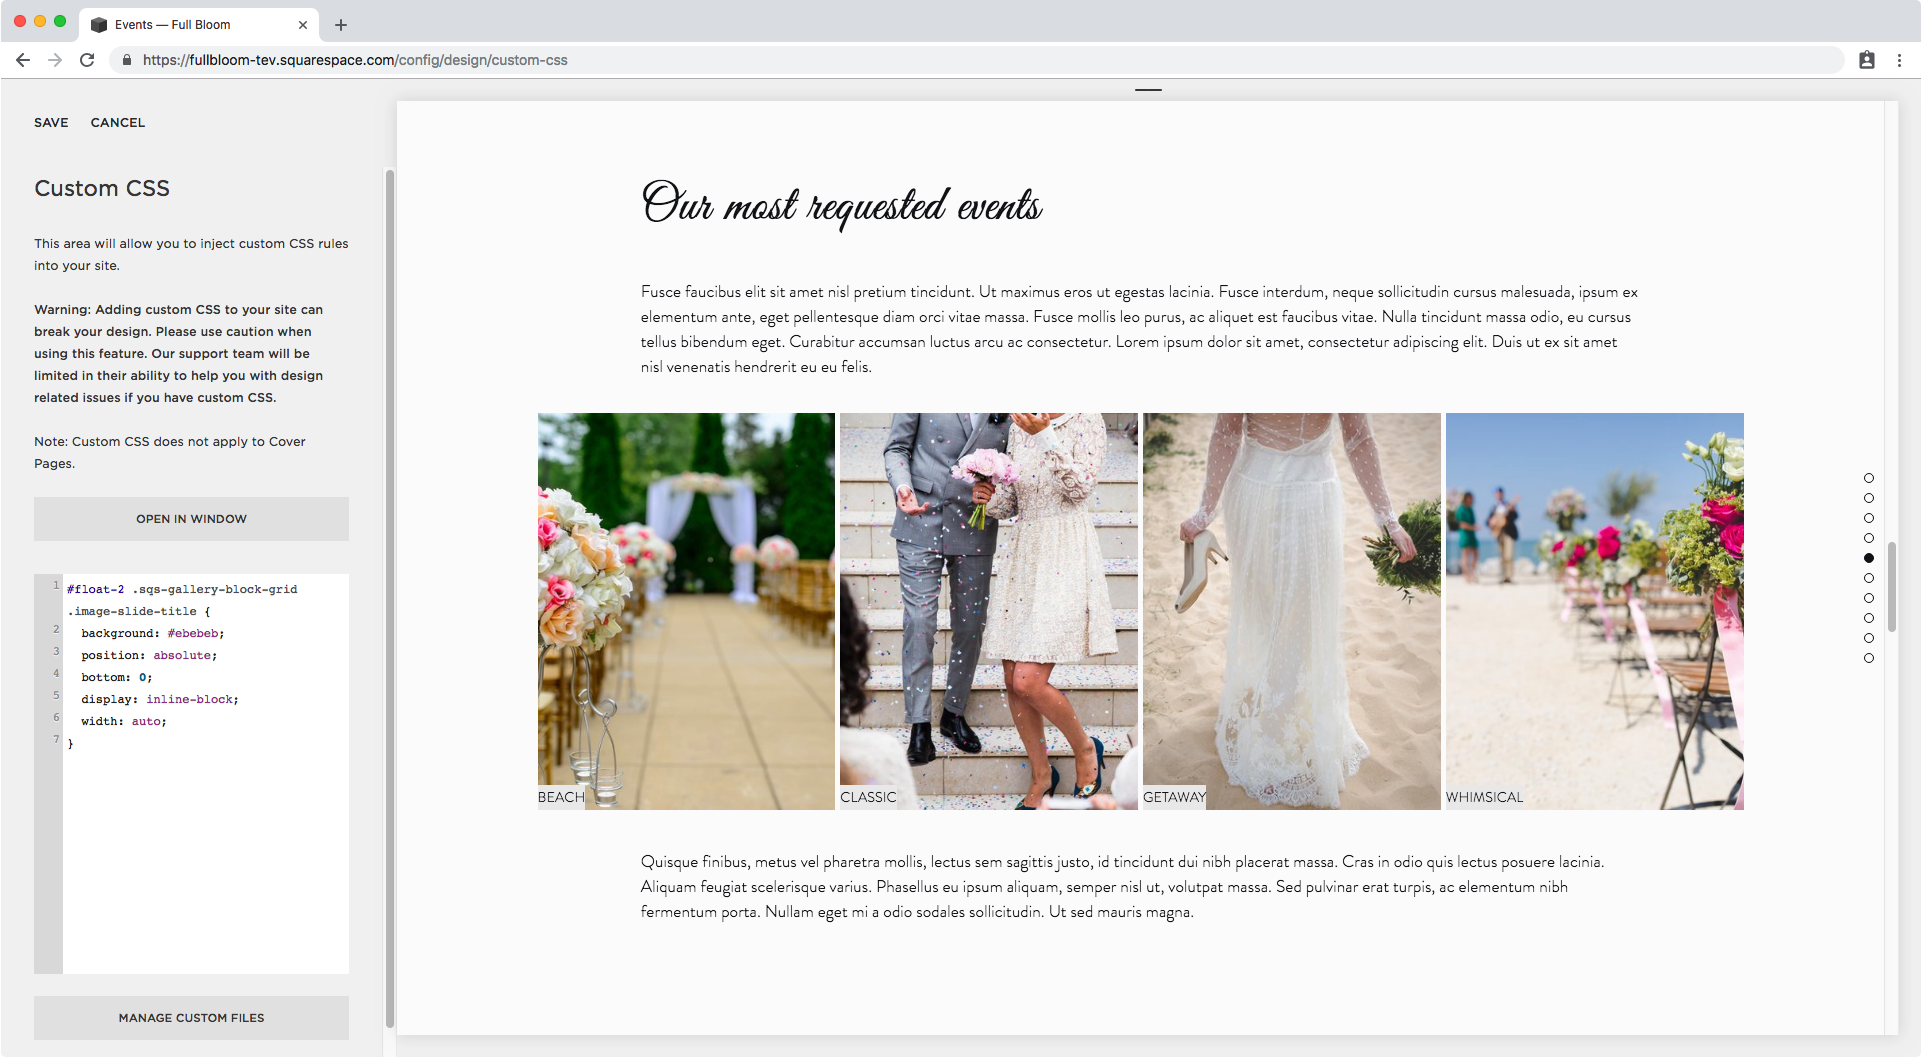
Next, we’ll be moving the title from where it is right now and place it on top of them instead. To do this, I’ll make its position absolute and set the bottom offset as 0, so it sticks to the bottom of the thumbnail.
#float-2 .sqs-gallery-block-grid .image-slide-title {
  background: #ebebeb;
  position: absolute;
  bottom: 0;
}

Good!
You can leave yours like that, spanning across the entire image, but I want mine to look more like a label so I’ll shrink it down by setting it to inline-block and making the width auto.
#float-2 .sqs-gallery-block-grid .image-slide-title {
  background: #ebebeb;
  position: absolute;
  bottom: 0;
  display: inline-block;
  width: auto;
}
And then I’ll give it a bit of padding to make it bigger.
#float-2 .sqs-gallery-block-grid .image-slide-title {
  background: #ebebeb;
  position: absolute;
  bottom: 0;
  display: inline-block;
  width: auto;
  padding: 5px 20px;
}

Alright, let’s center this baby.
I’m going to set the left offset to 50%…
#float-2 .sqs-gallery-block-grid .image-slide-title {
  background: #ebebeb;
  position: absolute;
  bottom: 0;
  display: inline-block;
  width: auto;
  padding: 5px 20px;
  left: 50%;
}

…and then using the transform property to place it in the dead center.
#float-2 .sqs-gallery-block-grid .image-slide-title {
  background: #ebebeb;
  position: absolute;
  bottom: 0;
  display: inline-block;
  width: auto;
  padding: 5px 20px;
  left: 50%;
  transform: translateX(-50%);
}

Awesome!
Lastly, I’m going to make the font bold so it stands out a bit more.
#float-2 .sqs-gallery-block-grid .image-slide-title {
  background: #ebebeb;
  position: absolute;
  bottom: 0;
  display: inline-block;
  width: auto;
  padding: 5px 20px;
  left: 50%;
  transform: translateX(-50%);
  font-weight: bold;
}
This is looking awesome, but before moving onto the colors, I want to make a little adjustment.
If I decide to go with a much larger font than this, say 30px, let’s take a look at what happens in smaller screens…

It seems like the labels are now overflowing my images and I certainly don’t want that.
So, I’m going to add a max-width of 100% to the label, and set the box-sizing property to border-box to make sure it remains contained within the limits of the thumbnail, regardless of the font size I use!
#float-2 .sqs-gallery-block-grid .image-slide-title {
  background: #ebebeb;
  position: absolute;
  bottom: 0;
  display: inline-block;
  width: auto;
  padding: 5px 20px;
  left: 50%;
  transform: translateX(-50%);
  font-weight: bold;
  max-width: 100%;
  box-sizing: border-box;
}

Alright! Much better.
I’m gonna change back the font size to what I originally had and get to work on the background colors!
Giving each Gallery Block title a different background color
Since all our labels/titles have the exact same class, and they all belong to the same overall block, we need to find a way to differentiate each one so we can target them separately and add the background color we want.
If we look inside our Inspect Element window, we can see that each of our thumbnail + label combo is sitting inside a container with a class of .slide. In this example, I have 4 of those.

We’re going to work with that .slide class alongside a pseudo-element called :nth-child() which will allow us to point to ONE of the 4 slides at a time.
So this is what our selector will target now: the label (.image-slide-title) from the selected slide (.slide:nth-child()) that’s inside our gallery block (.sqs-gallery-block-grid) that’s inside our index section (#float-2).
#float-2 .sqs-gallery-block-grid .slide:nth-child() .image-slide-title {

}
The first slide would be :nth-child(1), the second one would be :nth-slide(2) and so on.
So, to color our first slide label with a nice orange-y color, we can use this:
#float-2 .sqs-gallery-block-grid .slide:nth-child(1) .image-slide-title {
  background: #EED09F;
}

Ta-dá! Neat right?
I already removed the grey background color from the original snippet since we don’t need it anymore.
So now, all we have to do is just add a different color to each of the other slide labels!
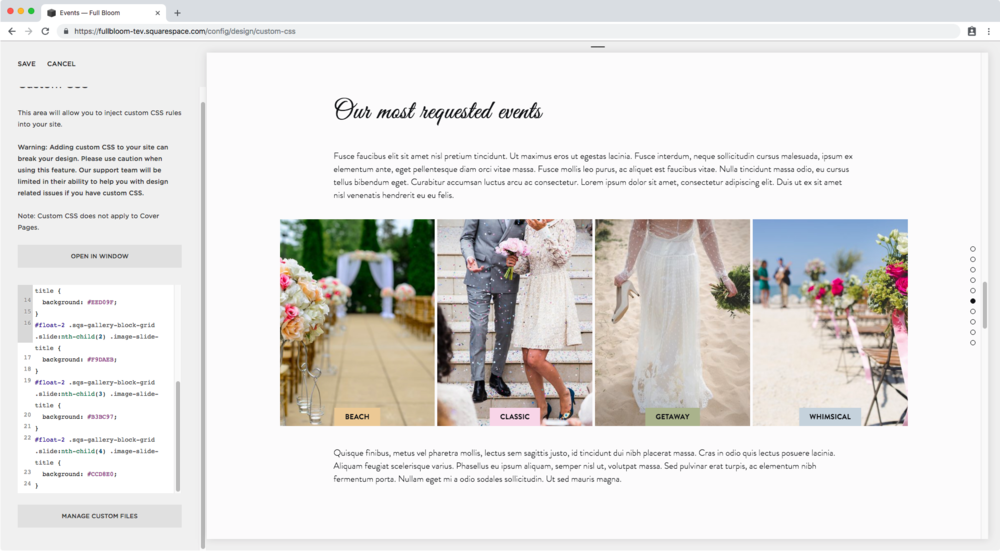
#float-2 .sqs-gallery-block-grid .slide:nth-child(1) .image-slide-title {
  background: #EED09F;
}
#float-2 .sqs-gallery-block-grid .slide:nth-child(2) .image-slide-title {
  background: #F9DAEB;
}
#float-2 .sqs-gallery-block-grid .slide:nth-child(3) .image-slide-title {
  background: #B3BC97;
}
#float-2 .sqs-gallery-block-grid .slide:nth-child(4) .image-slide-title {
  background: #CCD8E0;
}

How about that?!
That’s how you can add a different background to your Gallery Block titles, to turn them into colorful labels!
Until next time,
B.
Full code
/*LABEL LAYOUT*/
.sqs-gallery-block-grid .image-slide-title {
  background: #ebebeb;
  position: absolute;
  bottom: 0;
  display: inline-block;
  width: auto;
  padding: 5px 20px;
  left: 50%;
  transform: translateX(-50%);
  font-weight: bold;
  max-width: 100%;
  box-sizing: border-box;
}

/*INDIVIDUAL COLORS*/
.sqs-gallery-block-grid .slide:nth-child(1) .image-slide-title {
  background: #EED09F;
}
.sqs-gallery-block-grid .slide:nth-child(2) .image-slide-title {
  background: #F9DAEB;
}
.sqs-gallery-block-grid .slide:nth-child(3) .image-slide-title {
  background: #B3BC97;
}
.sqs-gallery-block-grid .slide:nth-child(4) .image-slide-title {
  background: #CCD8E0;
}